2. Separating Front and Back
前と後ろを切り別ける

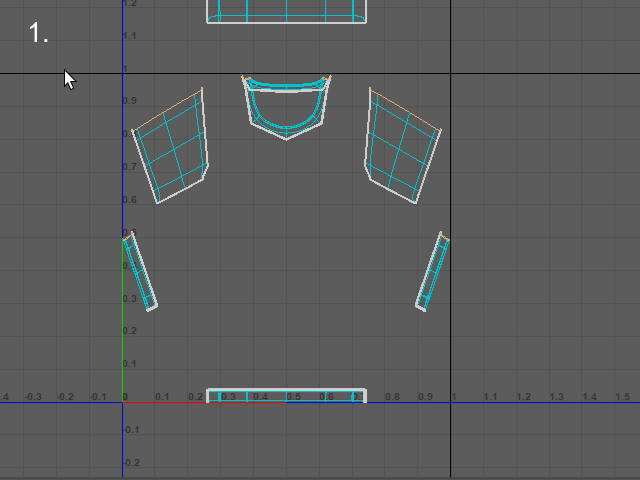
1.
Now, I am going to cut the side of the clothes.
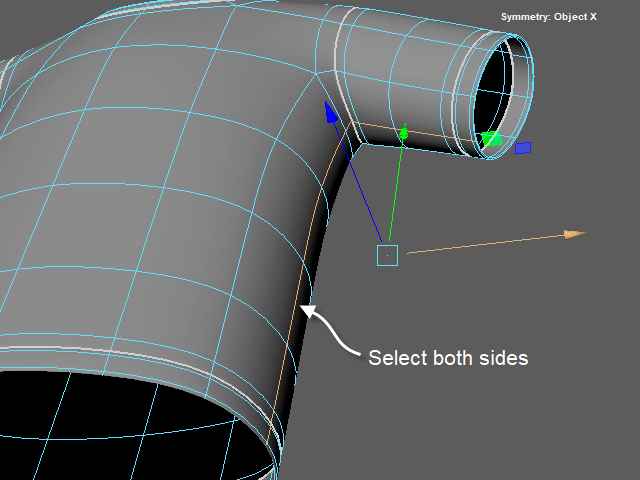
Select the side edge loops both left and right..
服の横の部分もカットします。
このようにエッジループをセレクトします。反対側もセレクトします。
2.
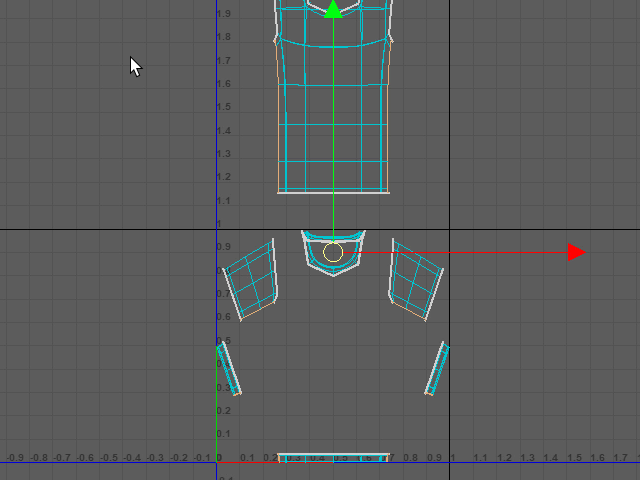
This is the UV Editor looks like.
UV Editor で見るとこのようになります。
3.
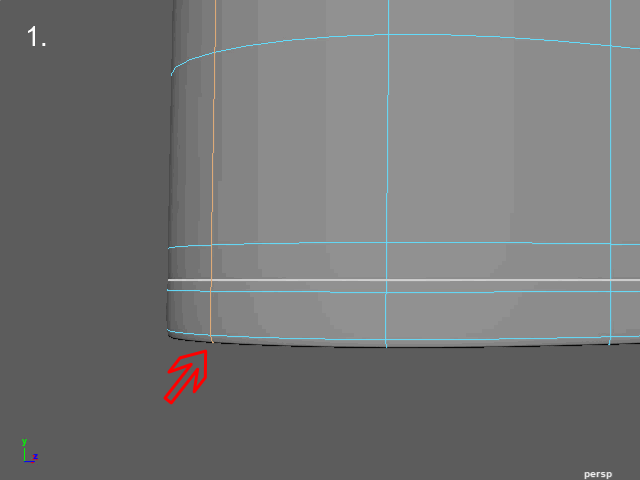
The bottom part of the shirt need to cut just one side.
Turn off the Symmetry mode, then unselect the edges from the one side.
シャツの下の部分は左右のどちらか一方をカットします。
両側のエッジをカットする必要はありません。
Symmetry モードを解除した後に、片側をセレクト解除します。
4.
Check the 3D model. You will see the edges are deselected.
3D のモデルでも このようにエッジがセレクト解除されるのが確認できます。
5.
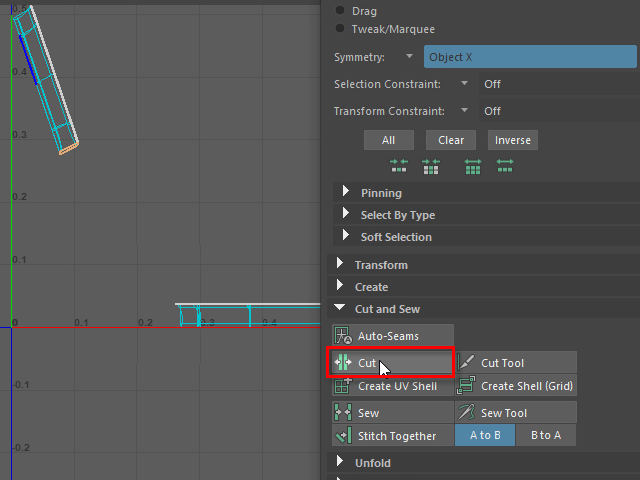
Cut all selected edges.
セレクトしたエッジループを Cut します。
6.
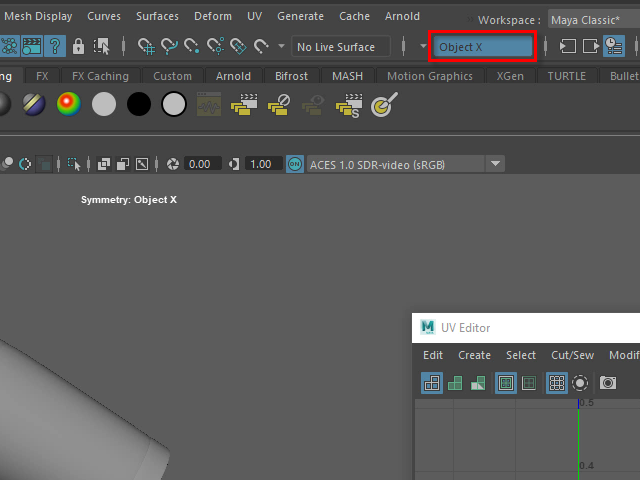
After cutting edges, make sure to turn on the Symmetry option.
Symmetry を Object X に戻すのをお忘れなく。
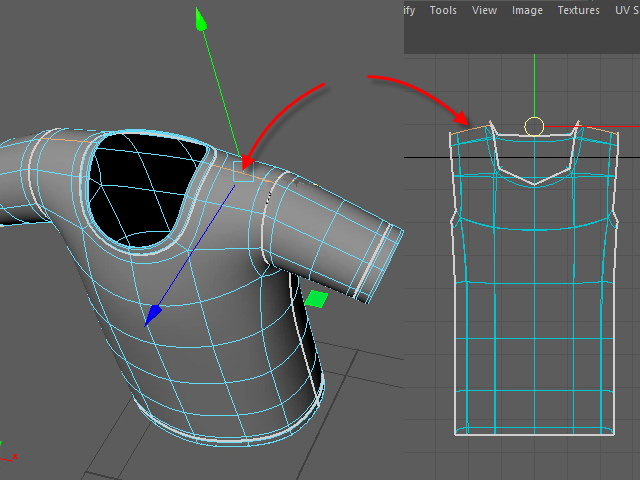
7.
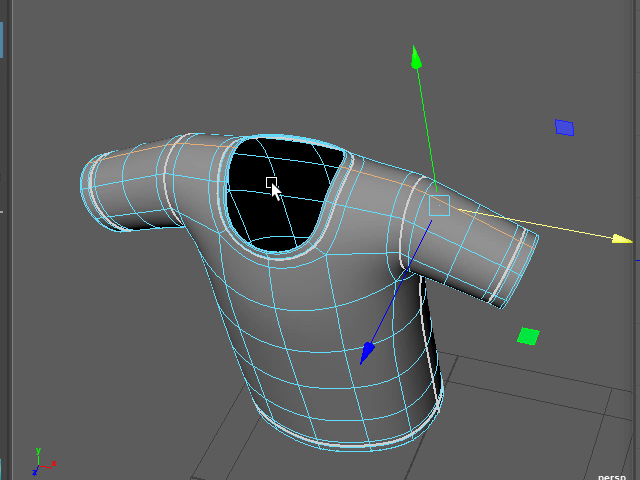
I am going to cut the shoulder area.
Select the edge loop.
肩の部分もカットします。
まずダブルクリックでエッジループ全体をセレクトします。
8.
I only need to cut the body part.
All other parts should be unselected.
襟(えり)の部分はカットする必要がないので、このようにセレクト解除します。
9.
Select the only shoulder part.
このように肩の部分だけがセレクトされます。
10.
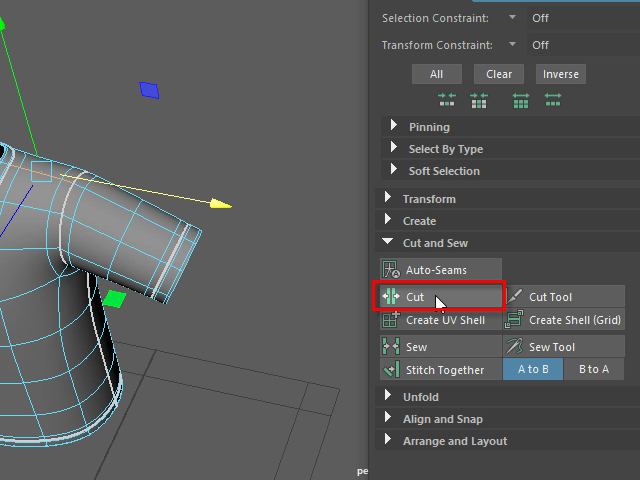
Cut します。
11.
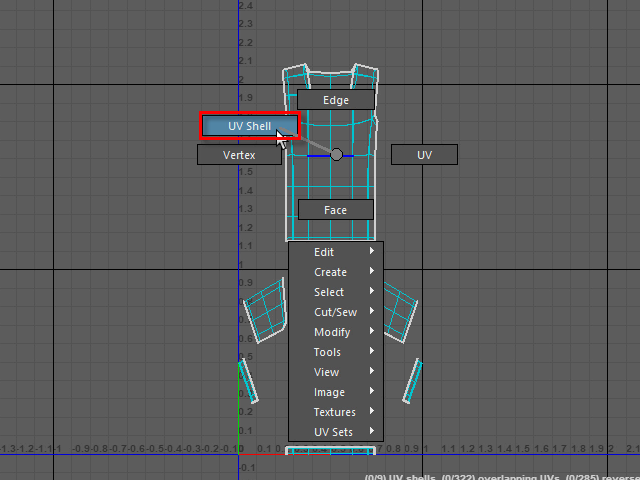
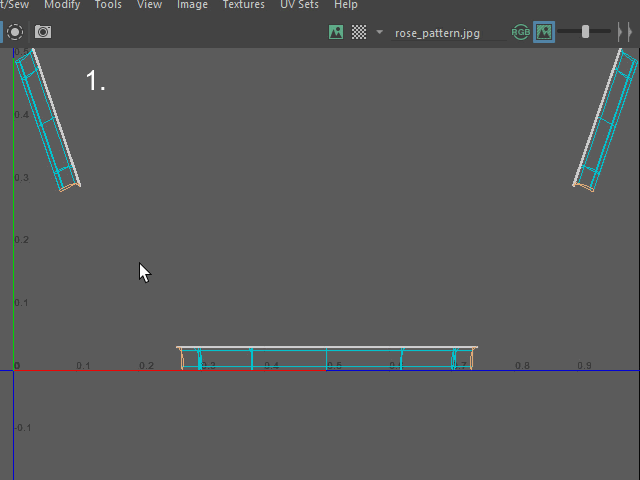
Select UV Shell.
右ボタンで UV Shell を選択します。
12.
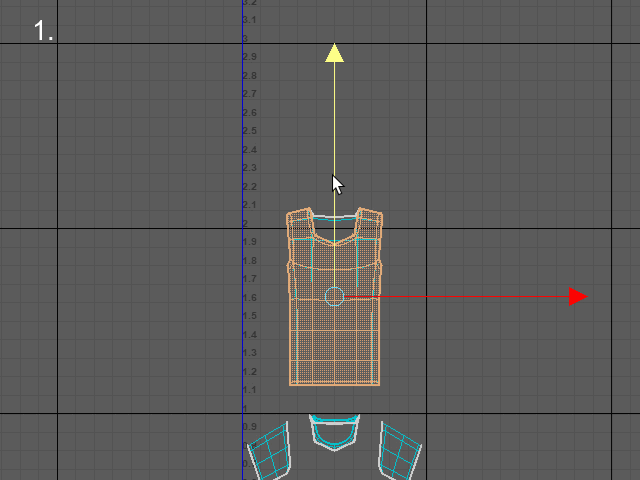
Click and move straight up.
クリックして選択し、真っ直ぐ上に移動します。
横に移動すると、あとで Symmetrize が使えなくなるので、必ず垂直に移動します。
13.
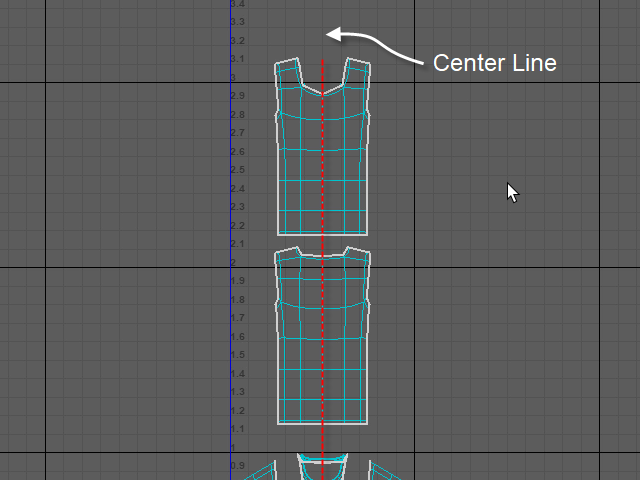
The red broken line is the center line.
Keep UV Maps on the center line otherwise, Symmetrize tool won't work later.
ここがUV マップの中心の線になります。
中心からズレると、後でSymmetrize が使えなくなるので注意。