4. Applying Texture テクスチャーを張り付ける

1.
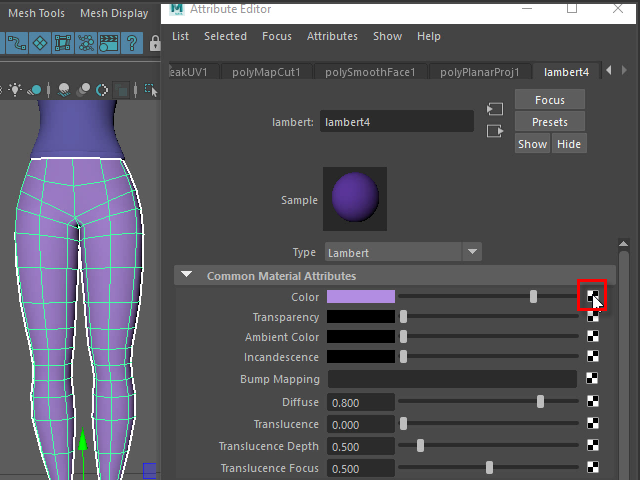
I am going to apply a texture.
First, click the Color option.
テクスチャーを張り付けてみます。
まず Color のオプションをクリックします。
2.
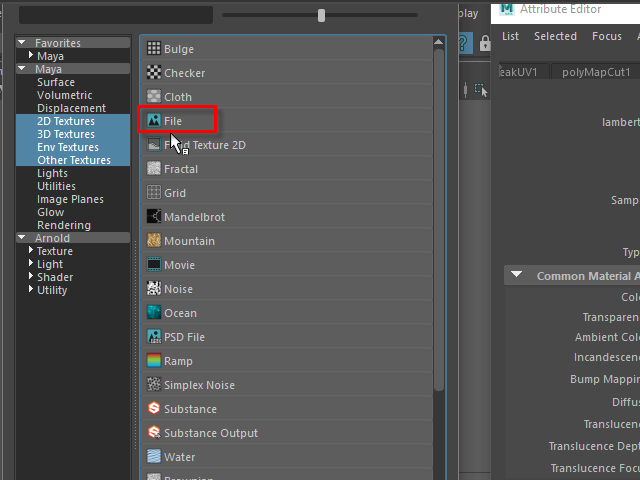
Click File.
File をクリックします。
3.
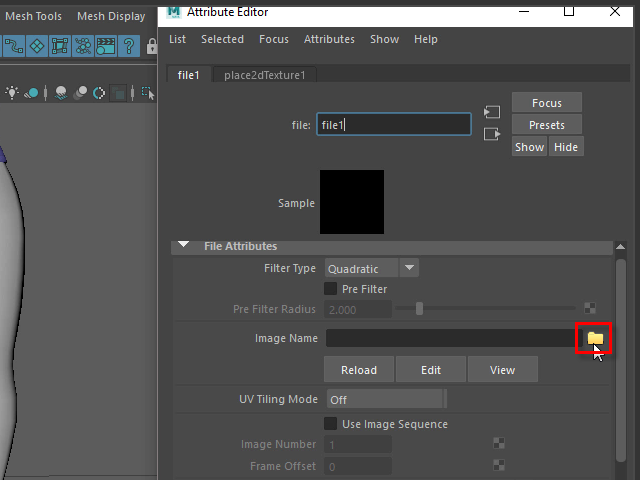
Click the folder icon.
フォルダー アイコンをクリックします。
4.
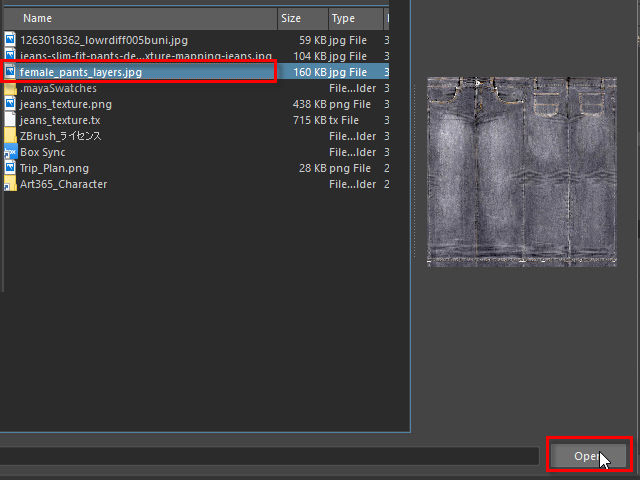
Select the jeans texture and Open.
ジーンズのテクスチャーをオープンします。
5.
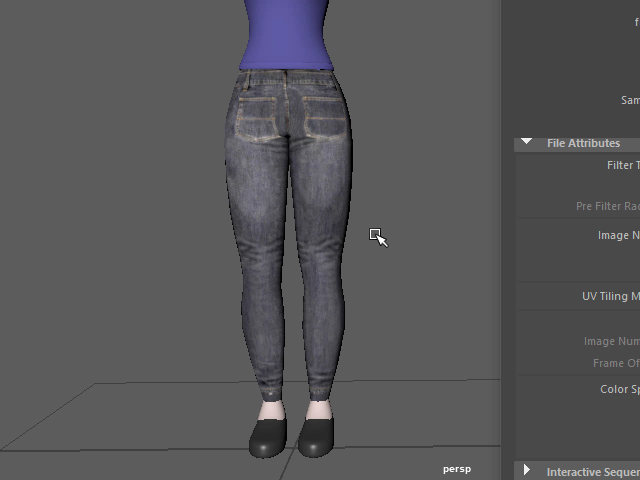
Check the texture with key 6.
In this case, the texture is reversed.
キーボード6 で確認します。
テクスチャーの前と後ろが反対です。
6.
Switch the left and right
UV マップの位置を左右入れ替えます。
7.
Now the texture is fixed.
このよう修正されました。
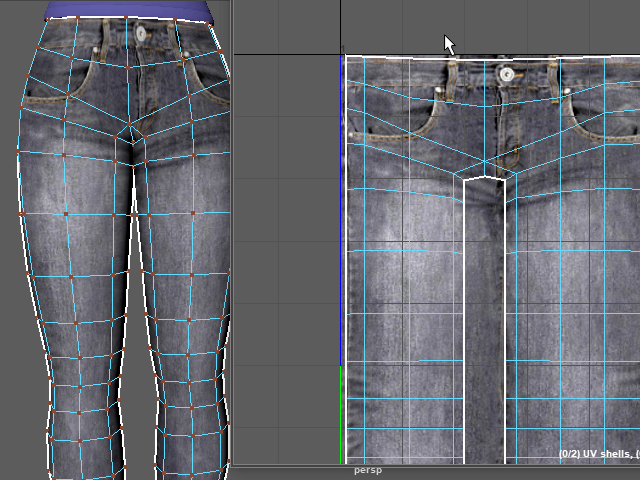
8.
Move the UV points and fit on the texture.
UV ポイントを移動し、ジーンズのテクスチャーに合わせます。
9.
Adjust the corners.
角も合わせます。
10.

Adjust the side.
横も合わせます。
11.
Adjust the bottom of the pants.
Select all UV points on the bottom and apply key B (Soft Select) to move up.
裾(すそ)の縫い目を合わせます。
キーボードB (ソフトセレクト)で移動します。
12.
Move the second row of UV Points and adjust the stretched texture.
裾の縫い目がストレッチしている場合は、このように UV ポイントを移動し、修正します。
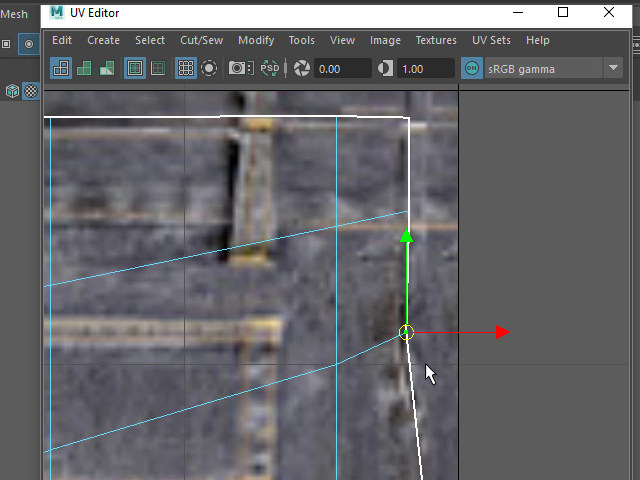
13.
Move UV Points on the seam.
縦の縫い目に合わせて UV ポイントを移動します。
14.
Move UV Points on the seam.
縦の縫い目に合わせて UV ポイントを移動します。
15.
Move UV Points on the seam.
縦の縫い目に合わせて UV ポイントを移動します。
16.
Move UV Points on the seam.
縫い目に合わせて UV ポイントを移動します。
17.
Move UV Points on the seam.
縫い目に合わせて UV ポイントを移動します。
18.
If the texture is stretched, move UV Points or edges on the UV Editor.
テクスチャーがストレッチしている場合は、UV マップ上でエッジ又はUV ポイントを移動し、修正します。
19.
In this case, the edge flow is not good.
That's why the texture is deformed.
Fix the edge flow.
テクスチャーが変形しているもう一つの理由は、 UV マップに問題があるのではなく、
このようにモデル自体のエッジが歪んでいる場合があります。
20.
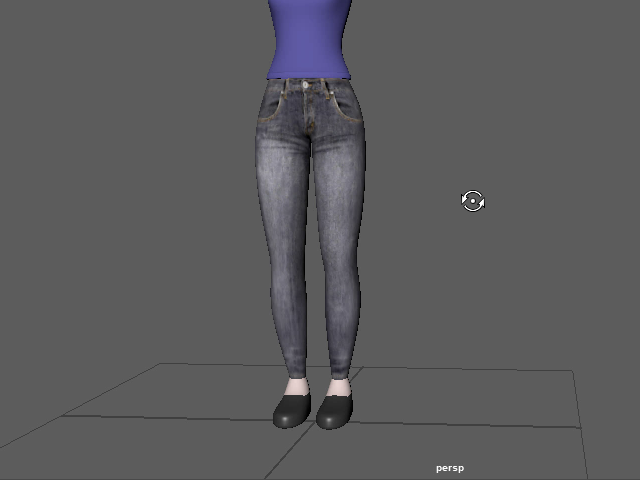
Done!
このようになります。