1. Arnold Lighting

1.

Area Light を使用してみます。
If you cannot find Arnold menu, check Plug-in Manager
アーノルドのメニューが見当たらない場合は、Plug-in Manager をチェックします。
2.
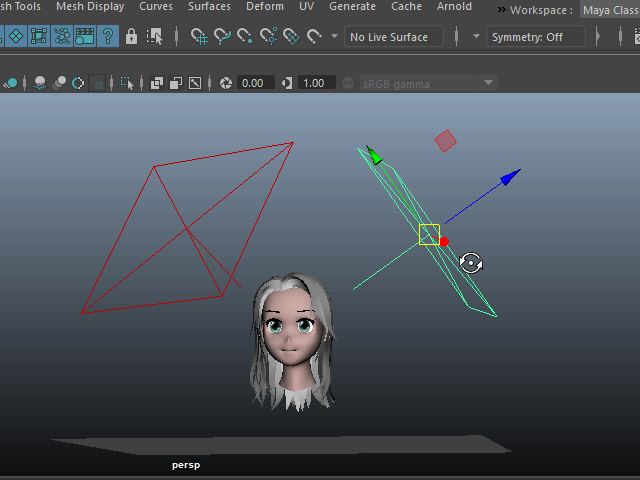
このように両サイドにセットします。
3.
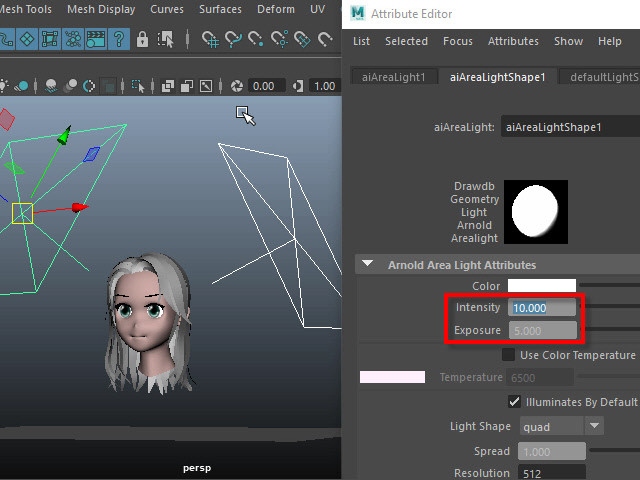
Intensity is the brightness of the light.
Exposure is the amount of the light going into the camera.
Set exposure to 5 and adjust the Intensity.
Intensity でライトの明るさを調節します。
Exposure はカメラに入る光の量です。
Exposure を5 に固定し、Intensity で明るさを調整します。
4.
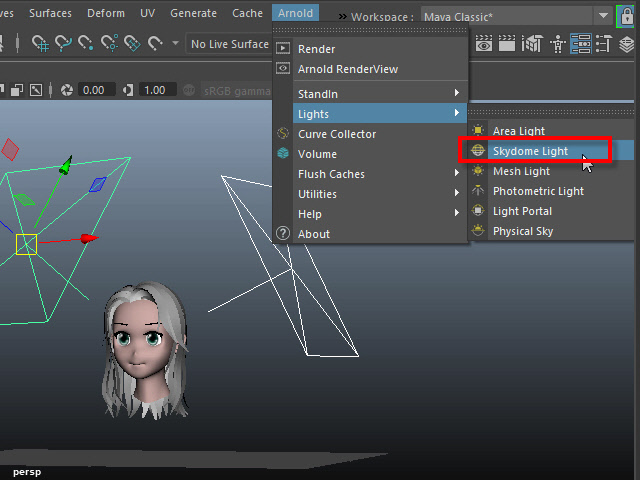
Skydome Light is like an ambient light.
Skydome Light を作成します。
Skydome Light は全体を明るくします。
5.
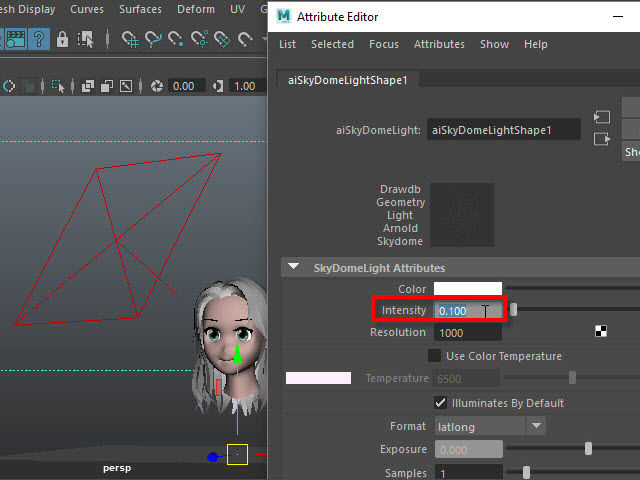
Set to lower intensity.
Skydome Light のIntensity を下げます。
6.
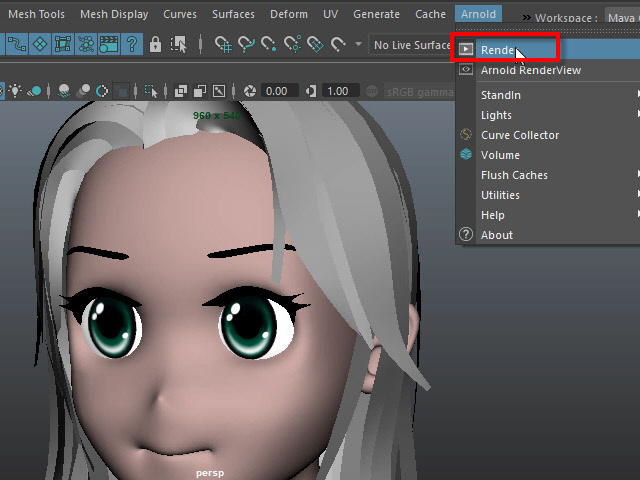
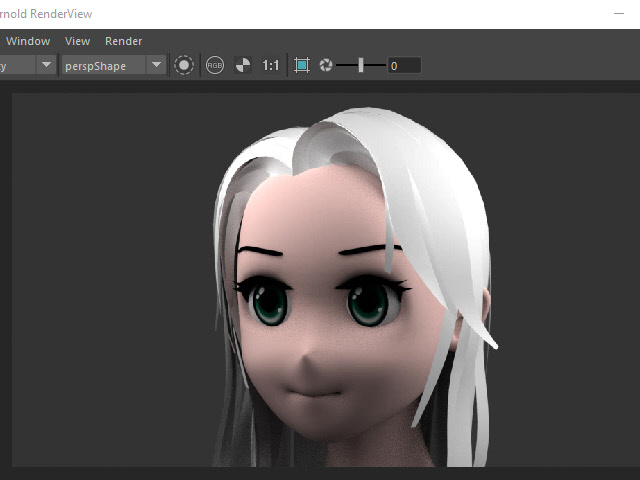
Start Arnold render.
Render でレンダリングを開始します。
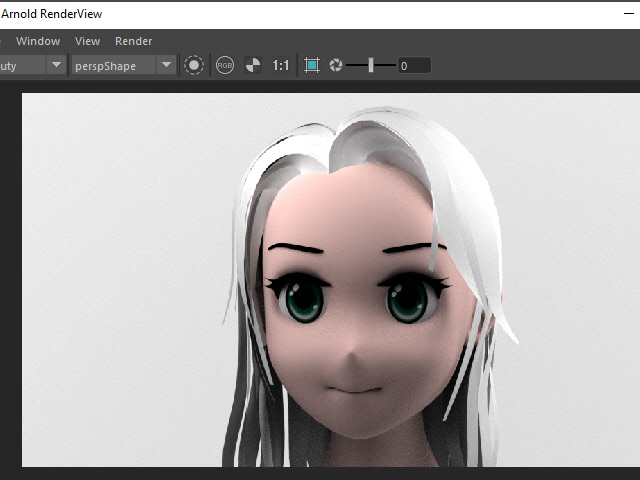
7.
Area Light の Intensity を調整すると、このようになります。
8.
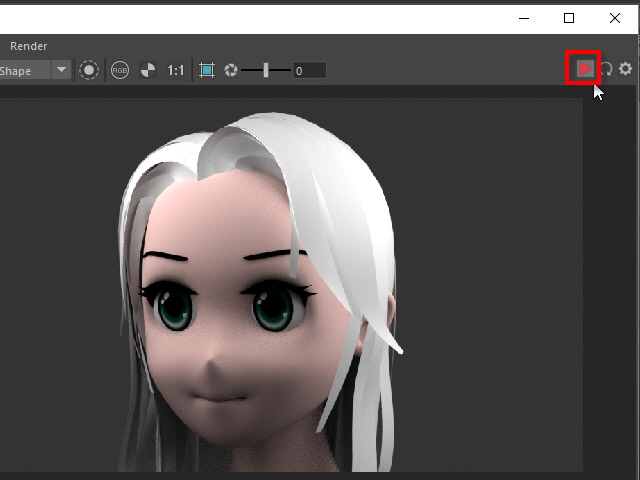
To stop Arnold rendering, click the stop button.
右上のボタンでレンダリングを止めることができます。
レンダリングを流したまま作業すると、Maya の動きが大分遅くなります。
14.
This is the rendered image with the back wall.
このように背後に壁を制作し、色を変える方法もあります。
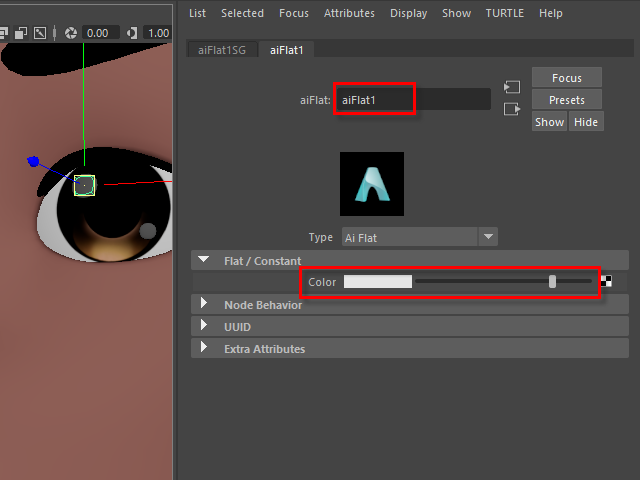
For the highlight geometry, apply aiFlat.
