3. Arnold Skin Shader
アーノルド スキン シェイダー
1.

Assign Ai Standard Surface.
Ai Standard Surface を張り付けます。
2.

Open Presets.
3.

Choose Skin and Replace.
Skin を選択し、Replace します。
4.
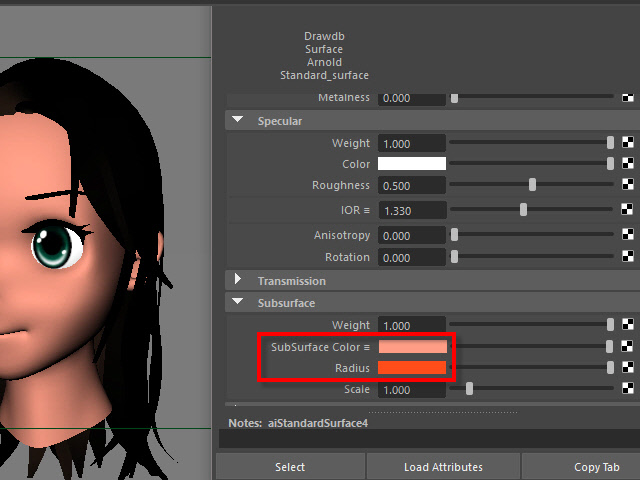
Sub Surface Color is a skin color.
Radius is an inside blood color.
If you want to apply a texture, apply on Sub Surface Color.
Sub Surface Color は皮膚の表面の色で、
Radius は内側の血液の色のような感じです。
顔のテクスチャを張り付ける場合は、Sub Surface Color に張り付けます。
4b.
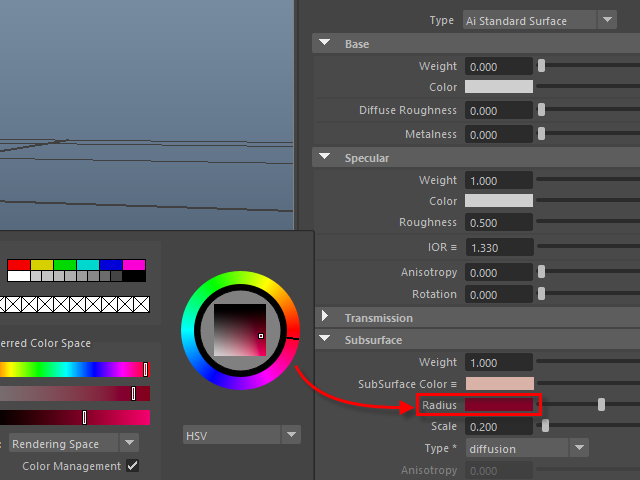
Dark wine color works good for the skin.
濃いワインカラーの色に設定すると、肌の色が良く出ます。
4c.
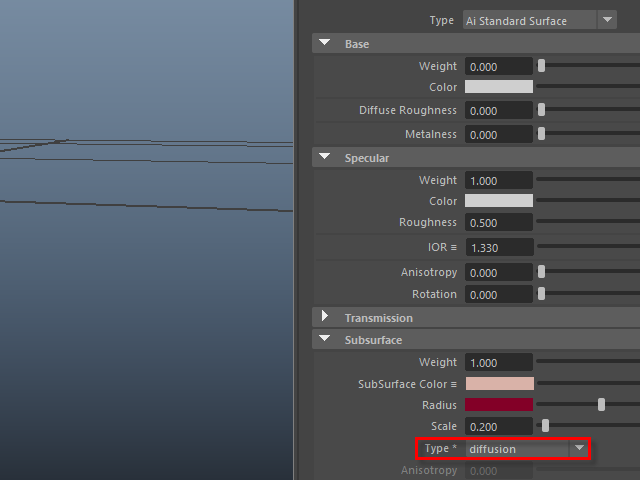
Choose diffusion for the skin.
diffusion を選択すると肌の色が出やすくなります。
5.
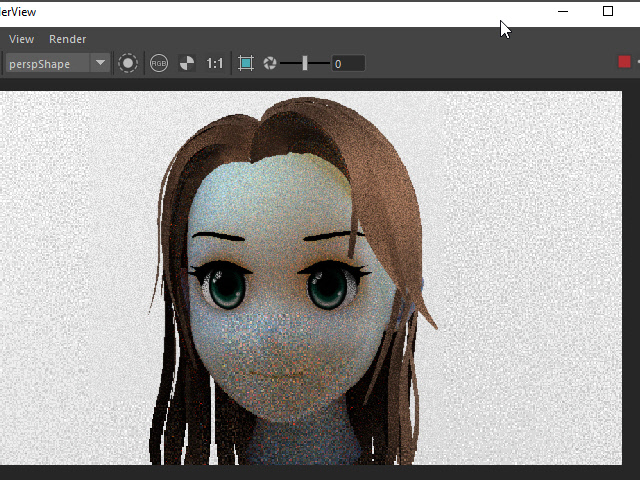
Render and see the color.
If you see blue or pale color like this, adjust Subsurface Scale. See the next image below.
アーノルドでレンダリングすると、このように青白くなる場合があります。
これは Subsurface の Scale を調整します。
次の6.を参考。
6.
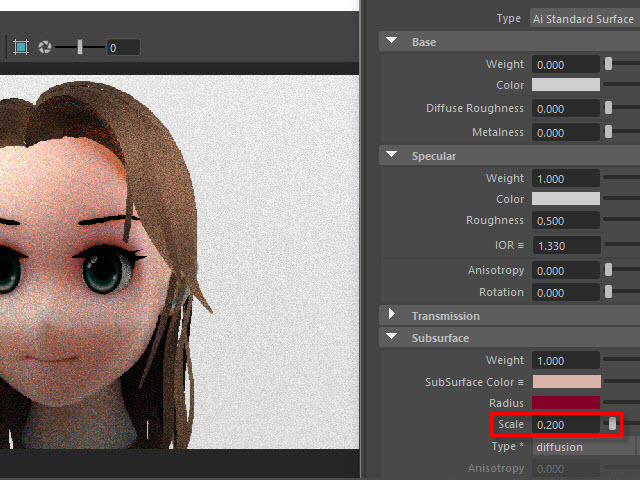
If you see blue or pale color, adjust Subsurface Scale.
If your model is smaller than the actual head size, lower the scale.
キャラクターのサイズが実際の頭のサイズより小さく制作した場合は、Scale の値を下げます。
7.
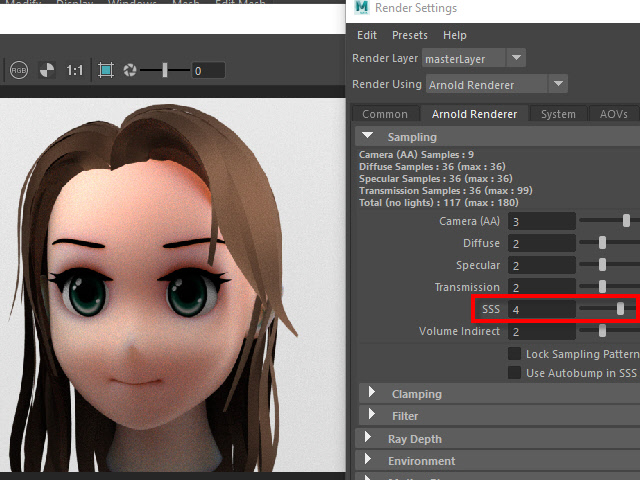
For a better rendering quality, increase Sampling just one or two.
If the number is too high, rendering slows down.
レンダリングの質をあげるには SSS のサンプリングを少し上げます。
上げすぎるとレンダリングに時間がかかるので注意します。