2. Applying 3D Texture
3D テクスチャを張り付ける
1.
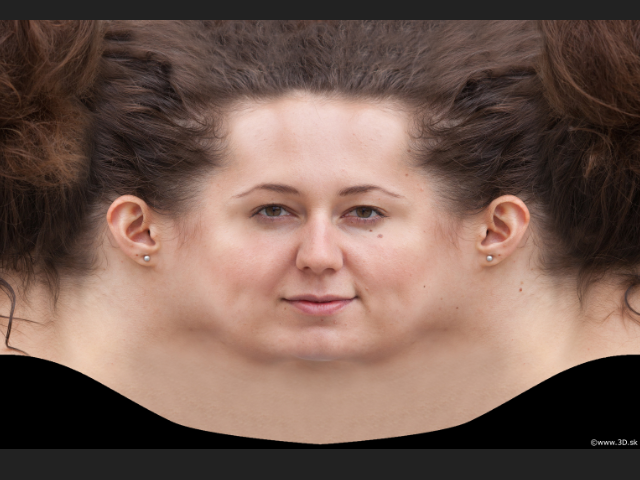
Before applying the texture, I need to clean up the image in Photoshop.
このテクスチャを張り付ける前に、フォトショップで修正します。
2.
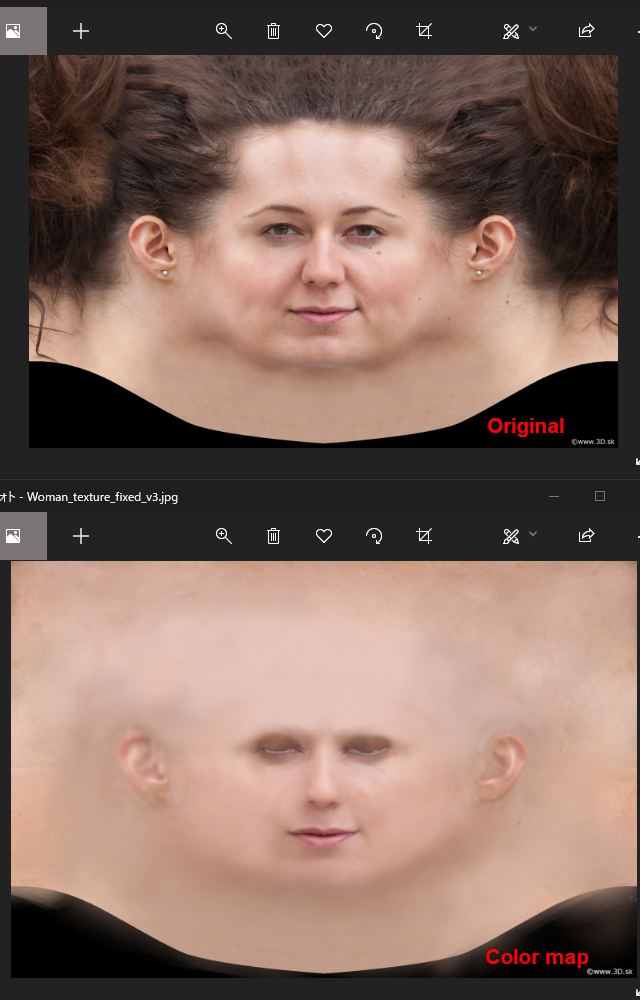
1. Delete the hair
2. Delete shiny spots and dark areas.
3. Delete sharp lines on the nose wing and the ears.
4. Close the eye. (Open slightly so the lower eyelid line can see.)
Find the picture of eye closed and clone.
5. Name as color_map
1. 髪を削除
2. テカりや黒ずんでいる部分を修正
3. 小鼻や耳のシャープなラインをぼかす
4. 目を閉じる ( 少しだけ開け、下のまぶたのラインが見えるようにする。)
目を閉じた画像を用意し、クロンします。
5. color_map と名前を付けます。
3.
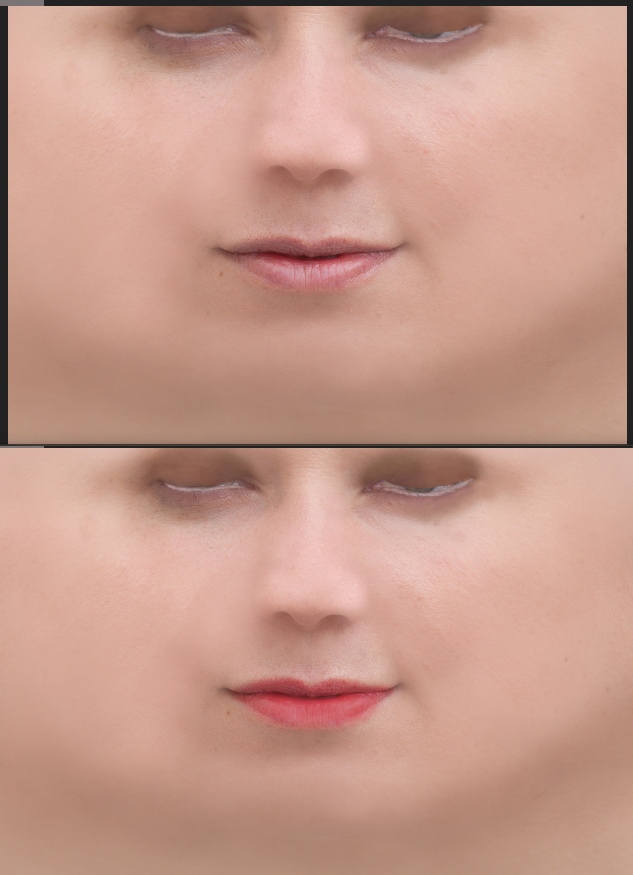
Enhance the color on the lips and delete the shininess.
唇の色を濃くし、テカりを取り除きます。
4.
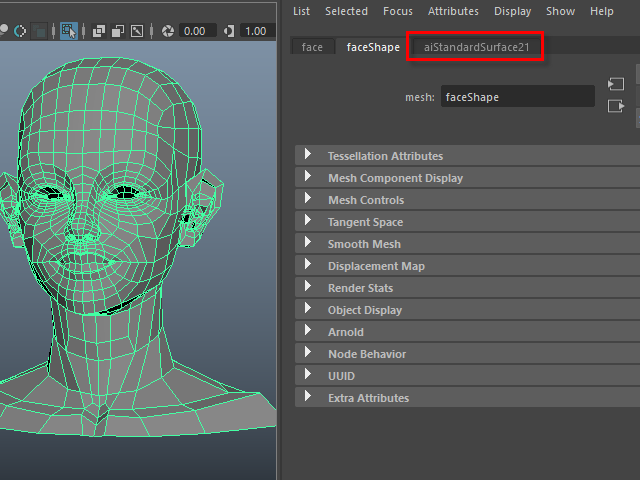 Assign aiStandardSurface.
 aiStandardSurface を張り付けます。
5.
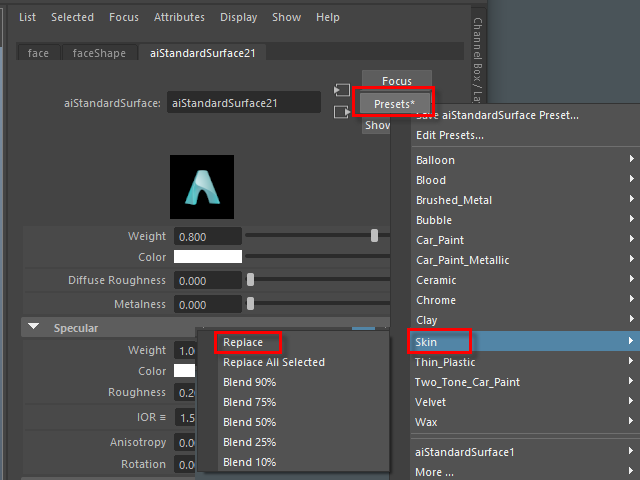
Assign Skin from Preset.
Preset から Skin を選択します。
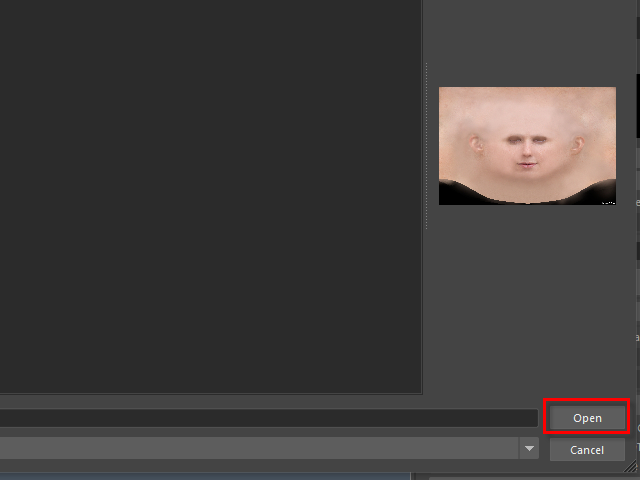
6.
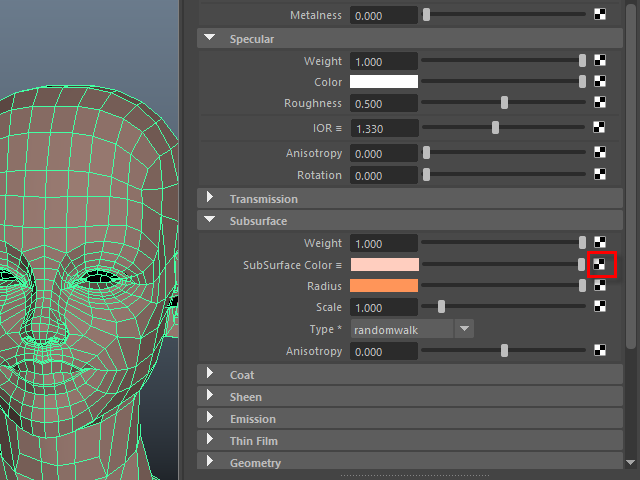
Apply the image (color_map) on Subsurface Color.
Subsurface Color に画像 (color_map) を張り付けます。
7.

8.

9.
10.
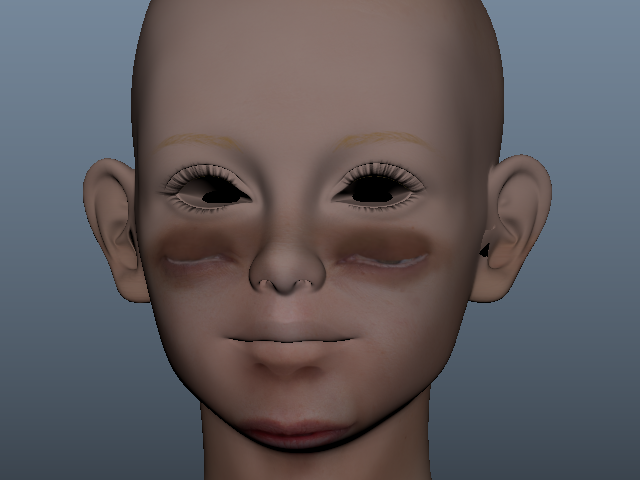
Next, I am going to adjust the uv map.
次に、UVマップを調整してみます。