8. Displacement Map
ディスプレイスメント マップ
1.
I am going to make details such as small wrinkles and skin pores with a displacement map.
First, I am going to turn off the color map temporally so I can see skin pores clearly.
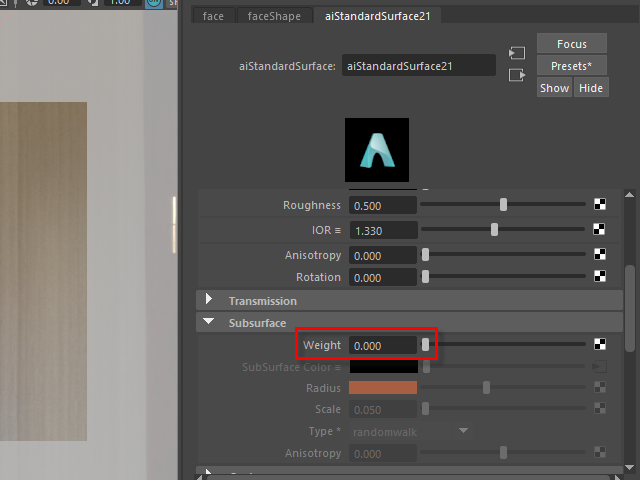
Turn off Weight.
displacement map で小ジワや毛穴を作成してみます。
まず、一時的にカラーマップをオフにし、毛穴がよく見える状態にします。
Wight を 0 に下げます。
2.
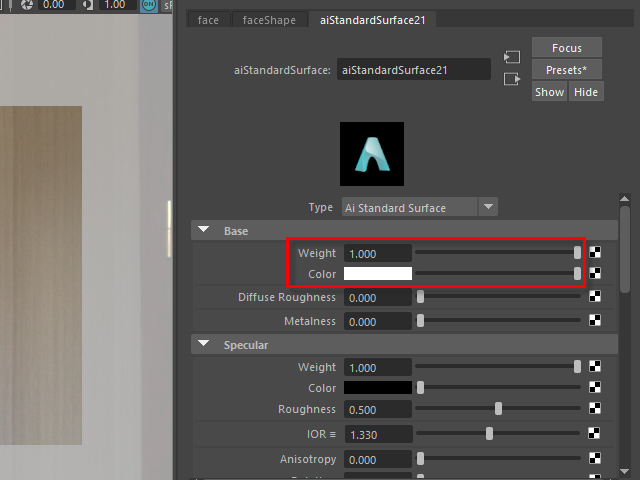
Next, apply white on Base color.
次に、Base の色を白くします。
3.
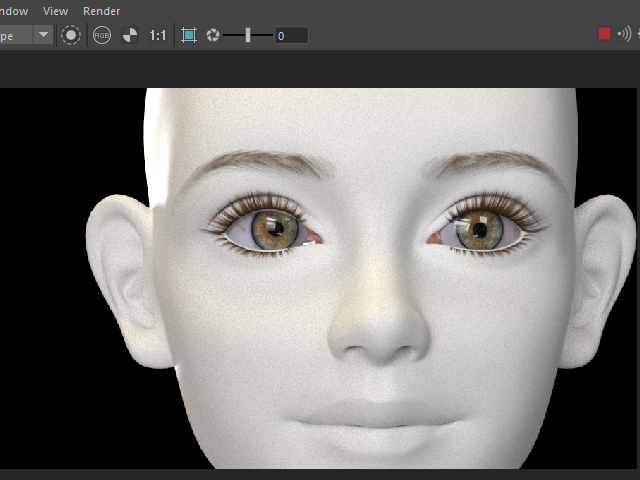
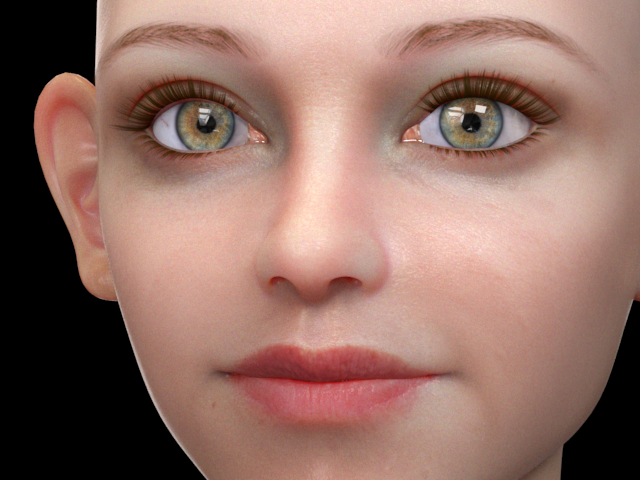
It's going to be like this.
このようになります。
4.
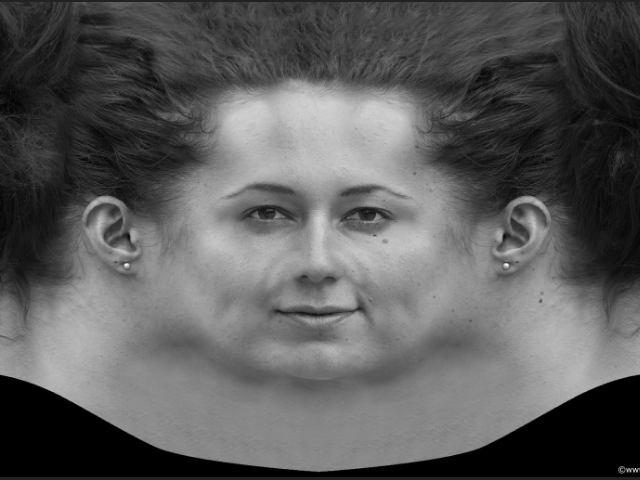 Save blue channel in Photoshop.
It's going to be a displacement map.
フォトショップで blue channel を保存します。
この画像から displacement map を制作します。
5.
Get rid of the hair and delete sharp lines from the ears.
Try not to blur the skin texture. Keep the skin details as possible.
髪の毛を削除し、耳のシャープな線をすべて消します。
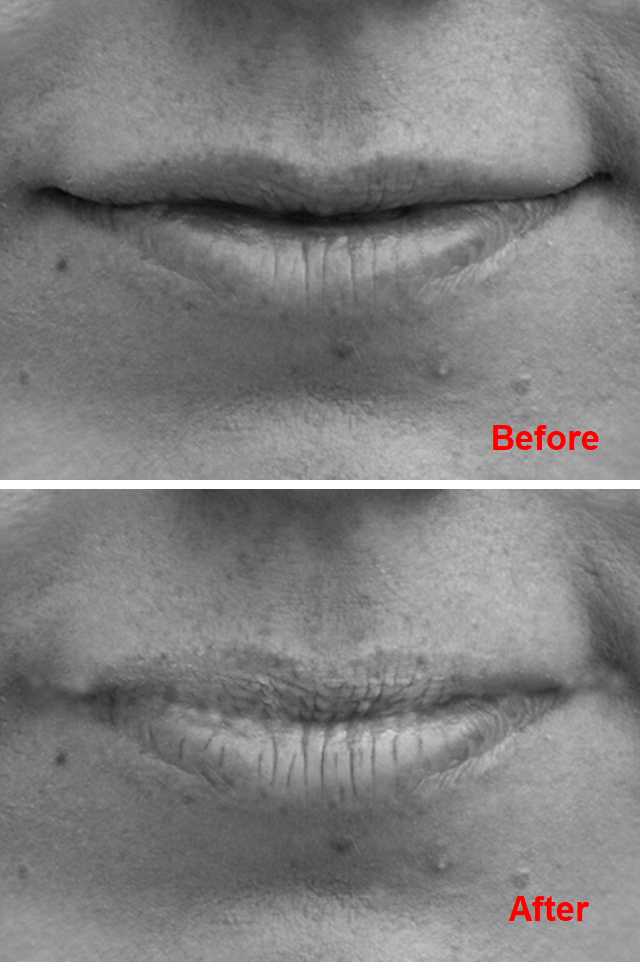
Get rid of dark area between lips.
Draw over the wrinkles and enhance the contrast.
唇の間の濃い影を消します。
唇のシワを描き起こし、コントラストを明確にします。
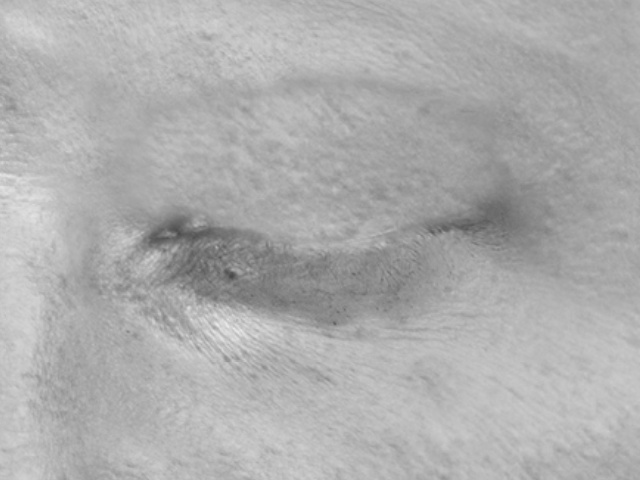
Close the eyes.
目を閉じます。
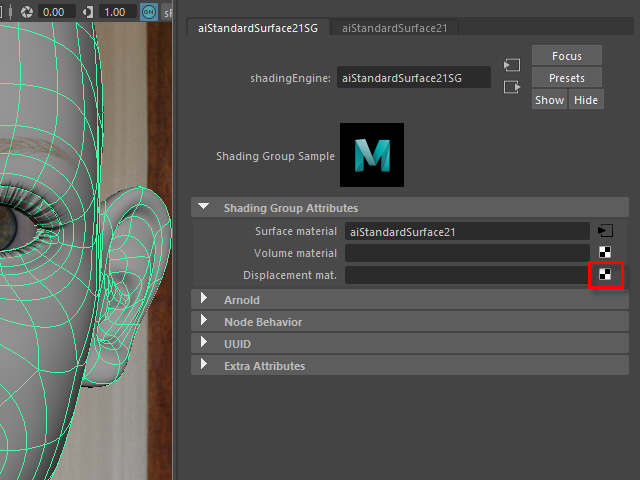
6.
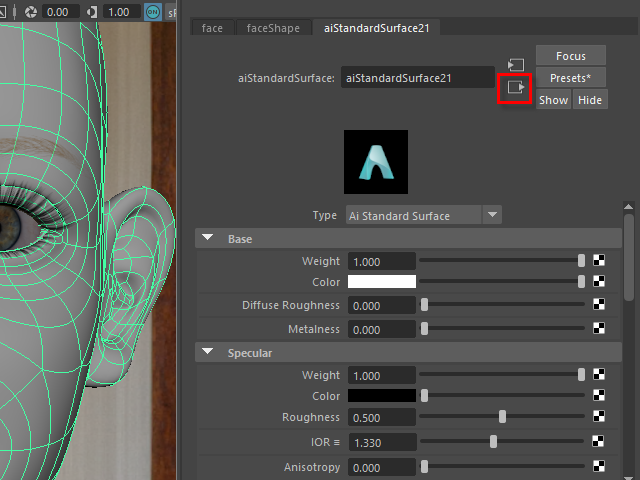
To apply a displacement map, click the icon which is on top right.
displacement map の張り付けは右上のアイコンをクリックします。
7.
Click the icon.
8.
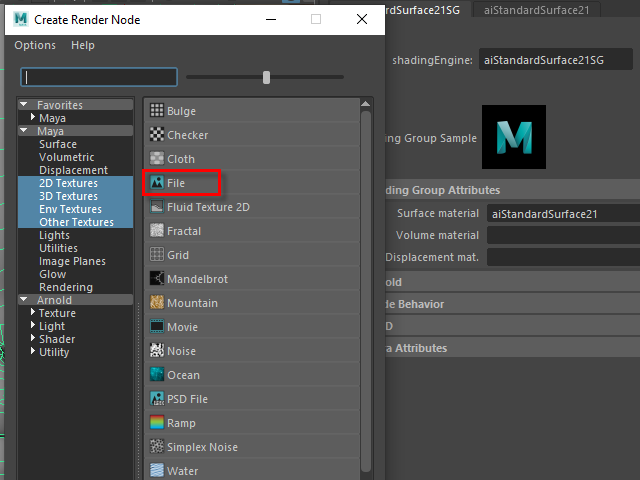
Go to File.
9.
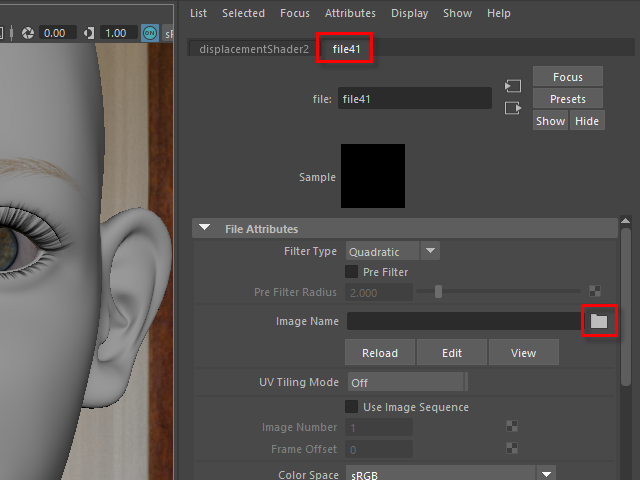
Click the folder icon.
10.
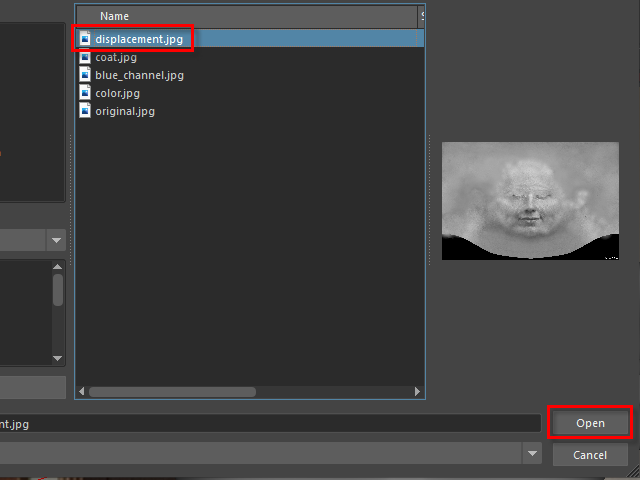
Open displacement map.
11.

Test Rendering.
You will see like this because the scale of displacement map is too hight.
レンダリングしてみると、こんな感じになります。
これは displacement のScale を調節する必要があります。
12.
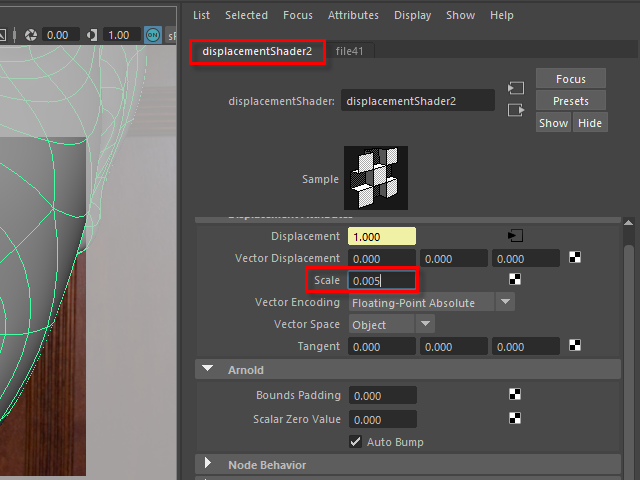
Adjust Scale.
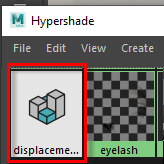
If you can not find the displacementShader window,
open Hypershade and find it.
Scale を調節します。
もし displacementShader ウィンドウがどこにあるか分からない場合は、
Hypaershade からアクセスできます。
13.
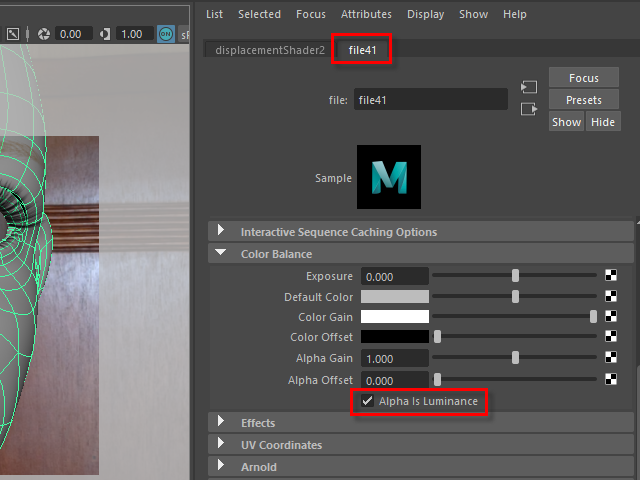
Click file tub and turn on Alpha Is Luminance.
file タブをクリックし、Alpha Is Luminance をオンにします。
14.
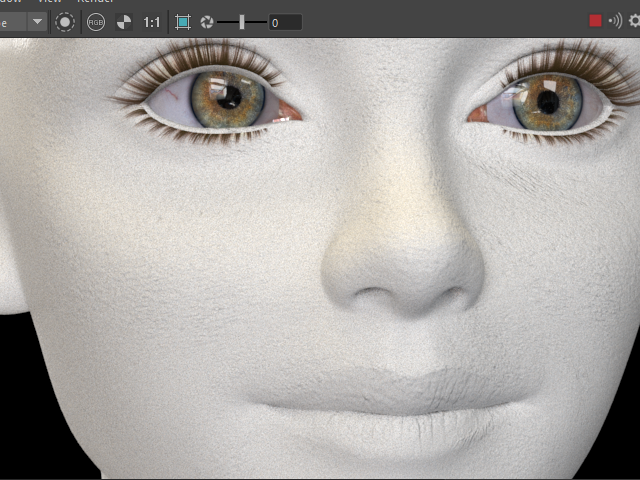
Start rendering.
It's going to be like this.
To adjust the bumps, adjust displacement Scale. See 12.
レンダリングすると、このようになります。
皮膚の凹凸は、 displacement の Scale で調節します。 12. の解説を参考。
15.
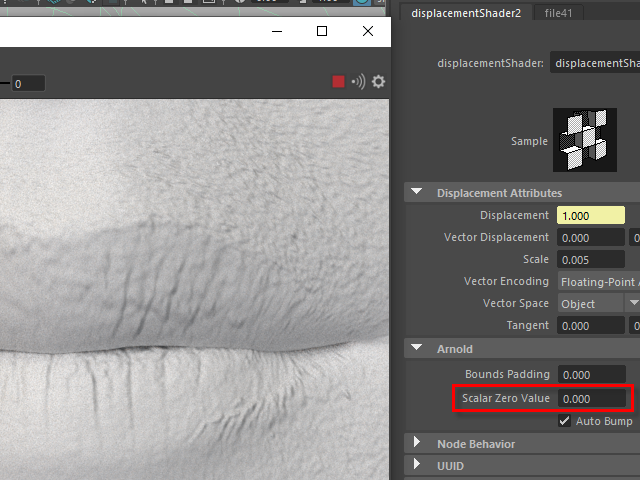
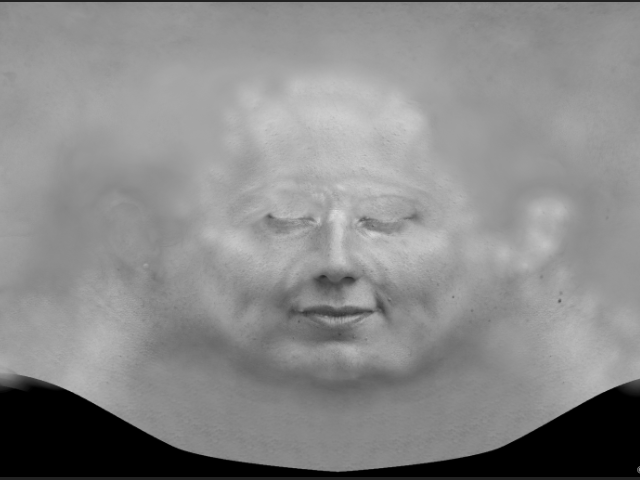
If entire face is inflated or deflated, adjust Scalar Zero Value.
In this case, the face seems a little puffy.
I need to adjust Scalar Zero Value.
顔全体が膨張してたり、収縮している場合があります。
これは Scalar Zero Value で調節します。
この場合は顔全体が少し膨張している感じなので Scalar Zero Value を調節してみます。
16.
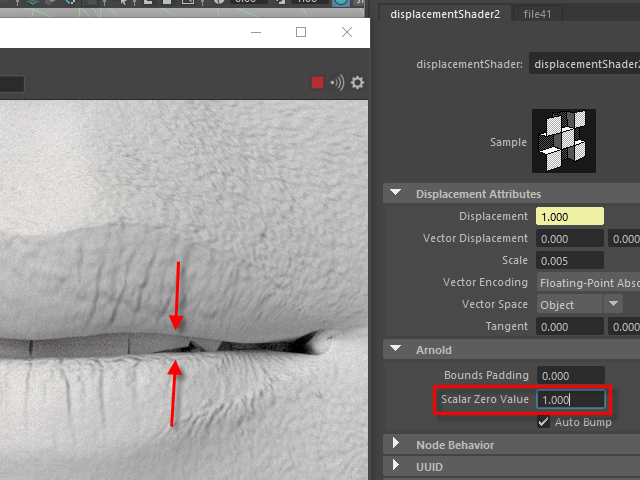
Increase Scalar Zero Value and see the lips.
The entire face shrinks
Scalar Zero Value を上げると、唇が離れます。
これは顔全体が収縮している状態です。
17.
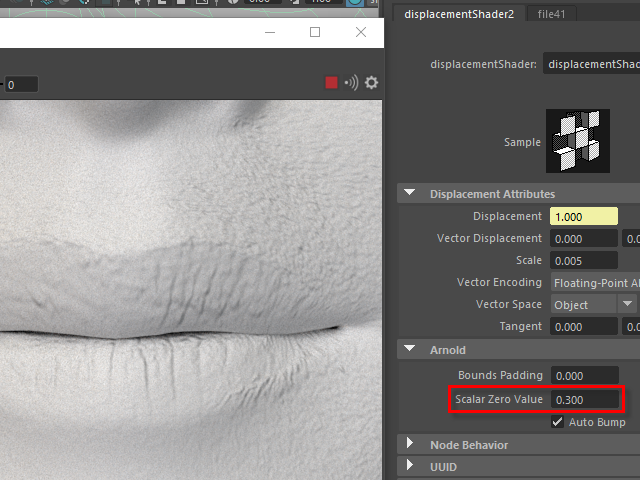
Find a good value. In this case 0.3 is good.
程よい数値を見つけます。この場合は 0.3 くらいがちょうど良い感じです。
18.
It's going to be like this.
このようになります。
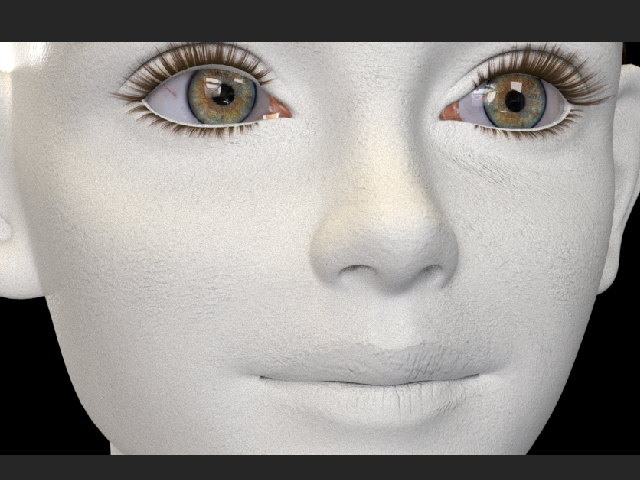
19.
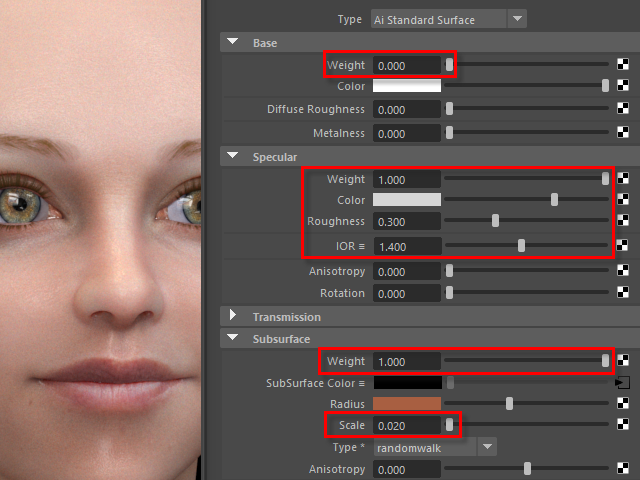
Turn off Base Weight.
Turn on Subsurface Weight.
Base Weight を オフにし、
Subsurface Weight をオンにします。
20.
It's going to be like this.
Next, I am going to apply a coat map on the lips to make them shiny.
このようになります。
次に唇に Coat map を張り付け、テカりを出してみます。