5. Cut and Applying textures
カットし、テクスチャを張り付ける

1.
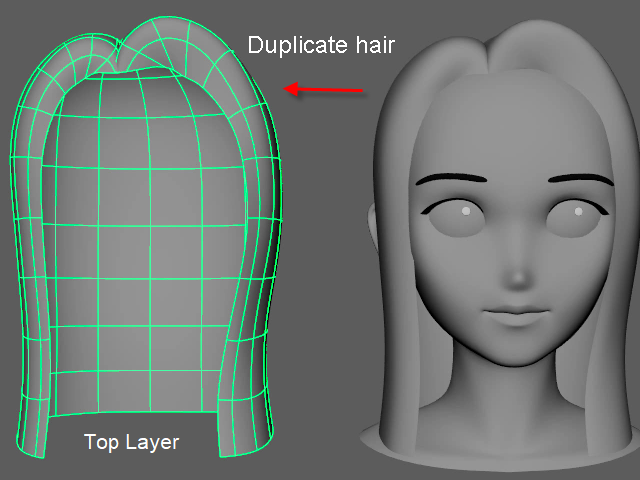
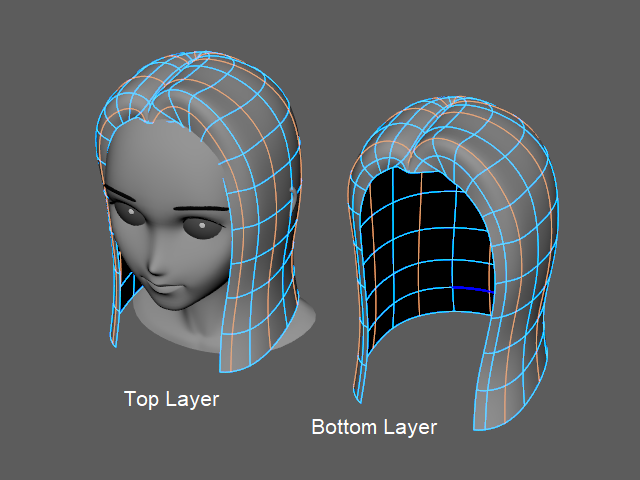
Duplicate first. It will be a top layer.
まず髪を複製します。これは上の層になります。
2.

Hide the hair.
非表示にします。
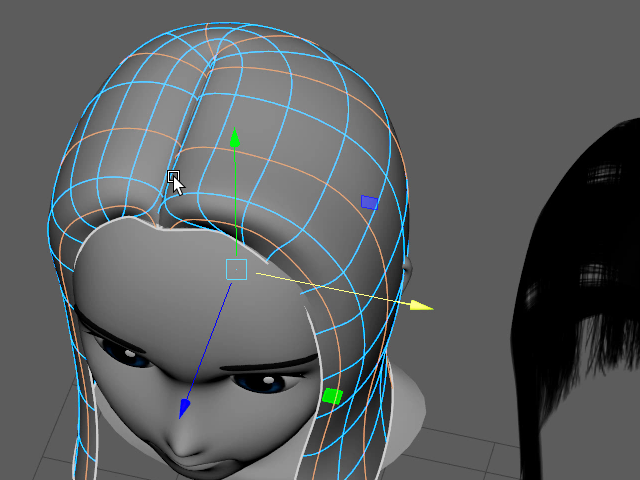
3.
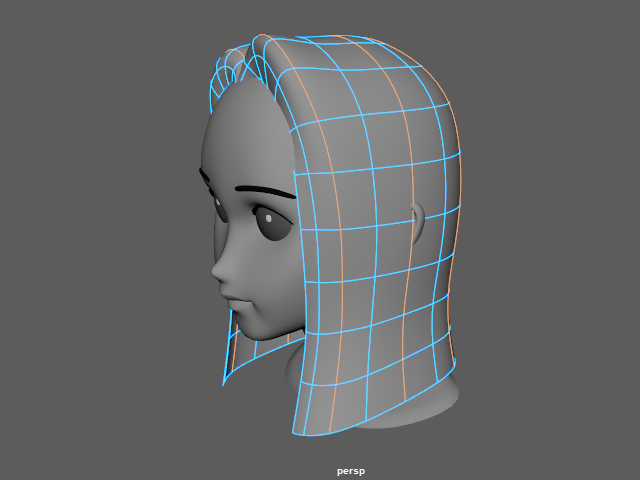
Select edge loops this way.
このようにエッジループを選択します。
4.
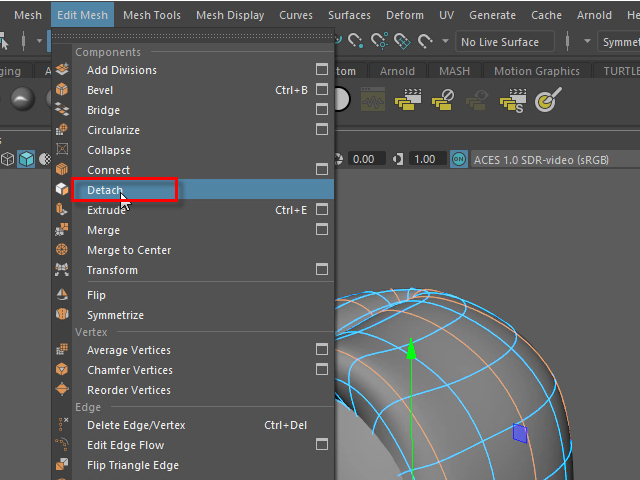
Detach them.
Detach で切り離します。
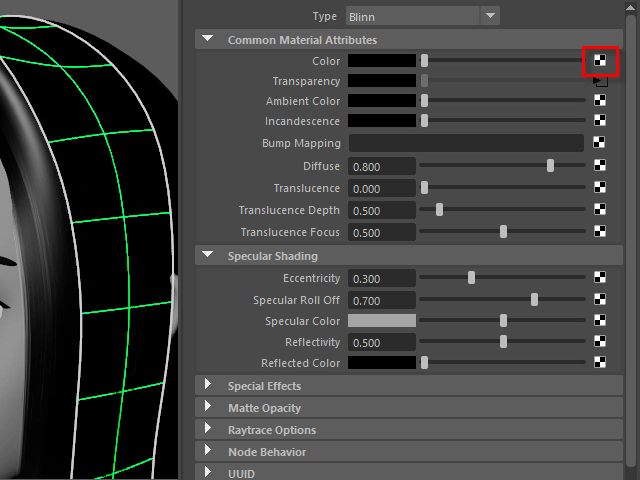
5.

Apply Blinn or aiStandardSurface
Blinn 又は aiStandardSurface を貼り付けます。
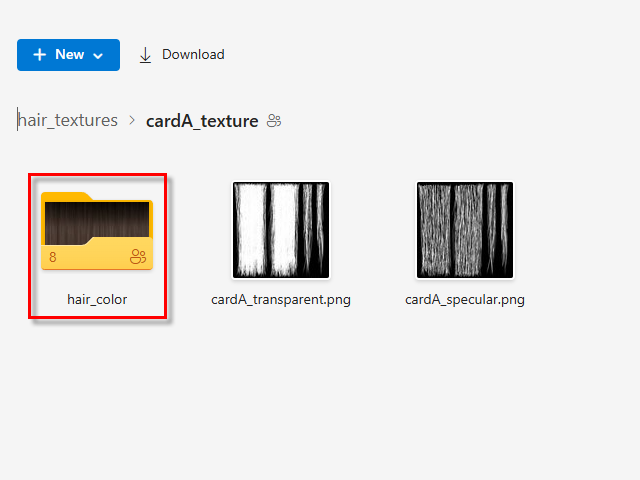
6a.
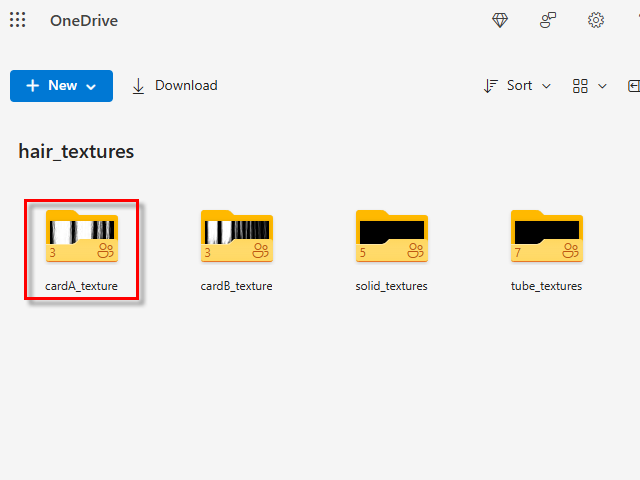
Click the link ● Download textures
Then, open cardA_texture folder.
● Download textures をクリックします。
次に、cardA_texture フォルダーをオープンします。
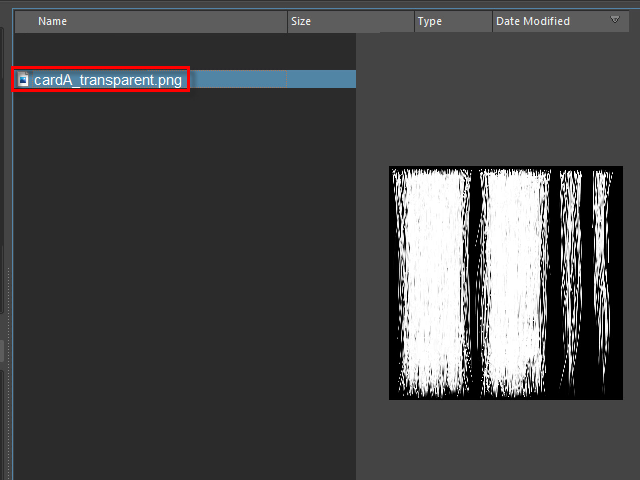
6b.
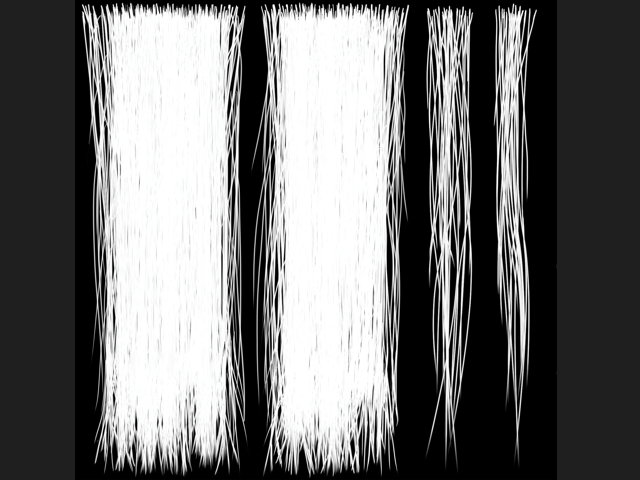
Download cardA_transparent.png
cardA_transparent.png をダウンロードします。
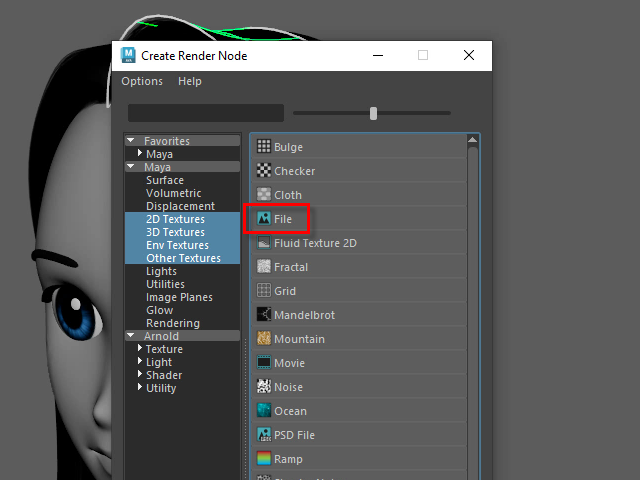
7.

Apply cardA_transparent.png as a transparency map.
cardA_transparent.png を transparency マップとして貼り付けます。
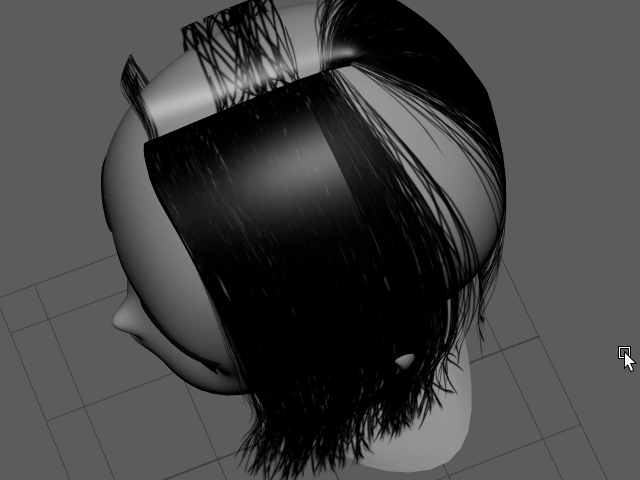
8.

9.

10.
Apply cardA_transparent.png
cardA_transparent.png を貼り付けます。
11.
UVmap position needs to be adjusted.
UVmap の位置を調整します。
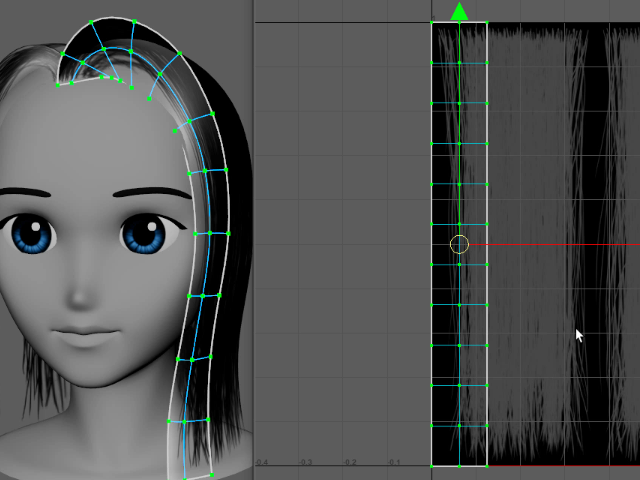
12.
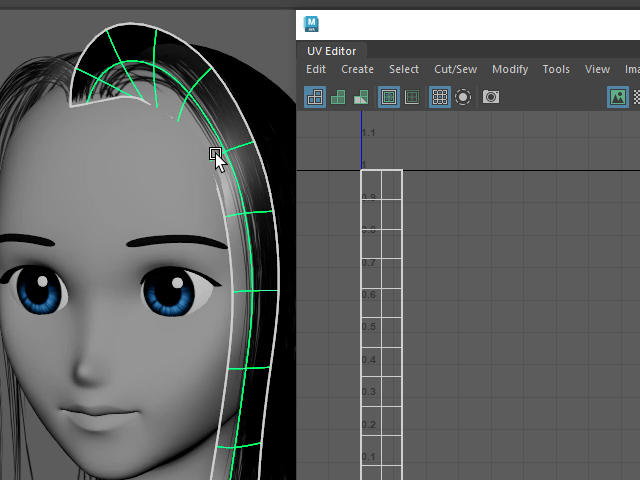
Select a card hair and open UV Editor.
カードヘアーを一つ選択し、UV Editor をオープンします。
13.
To display the texture, click image icon.
If you don't see any textures, refresh the window by clicking checker icon twice.
image icon でテクスチャを表示します。
もし表示されない場合は、checker icon を2度クリックします。
14.

Display the texture dark.
スライダーを移動し、テクスチャを暗く表示します。
15.
Right click and select UV from UV Editor.
UV Editor を右ボタンでクリックしUV を選択します。
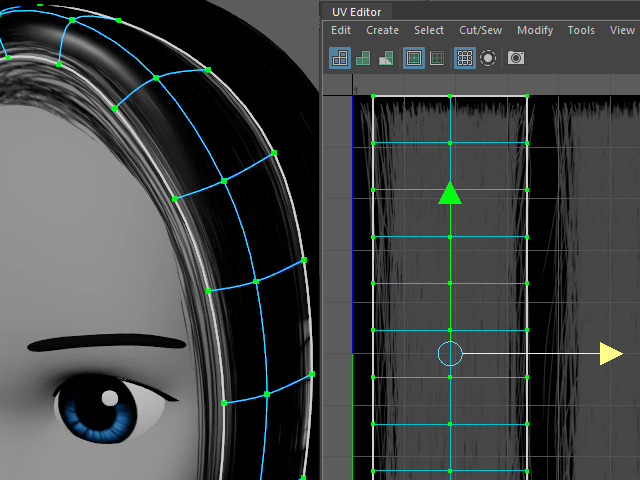
16.
Adjust the size.
サイズを調整します。
17.

Adjust all hair cards.
他のカードヘアーもサイズを調整します。
18.
19.
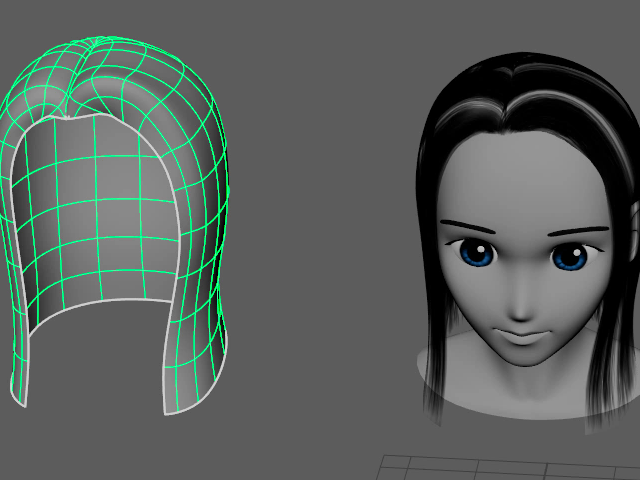
It's going to be like this.
このようになります。
20.
Display the duplicated hair which you made before.
先ほど複製した髪を表示します。
21.
Swap the hair.
髪を入れ替えます。
22.
Select the edge loops this way.
Do not select the same edge loop as the bottom layer.
このようにエッジループを選択します。
最初の下の層と同じエッジループを選択しないように注意します。
23.
Do not select the same edge loop as the bottom layer.
最初の下の層と同じエッジループを選択しないように注意します。
24.

Detach all selected edge loops
選択したエッジループをDetach します。
25.

Separate
26.
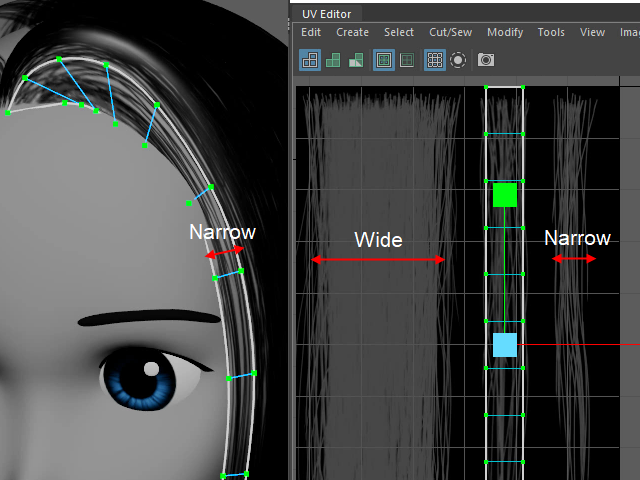
For the narrow card hair, apply narrow texture.
細いカードヘアには細いテクスチャを貼り付けます。
27.
Adjust all UV maps.
UV マップを調整します。
28.
Move back the first layer to the center.
最初の下の層を中心に戻します。
29a.

Click the link ● Download textures
Then, open cardA_texture folder.
● Download textures のリンクをクリックし、
次に、cardA_texture フォルダーをオープンします。
29b.
Open hair_color folder.
hair_color をオープンします。
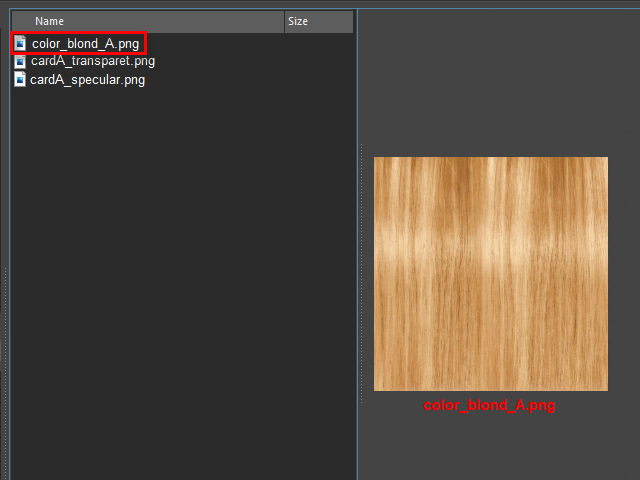
29.
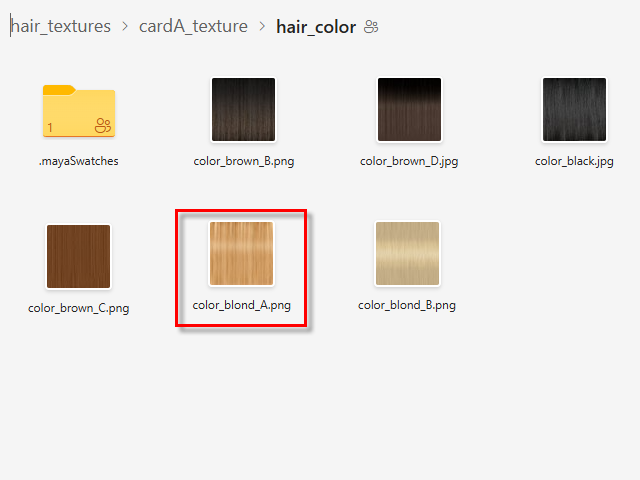
Choose the hair color and download.
髪の色を選択し、ダウンロードします。
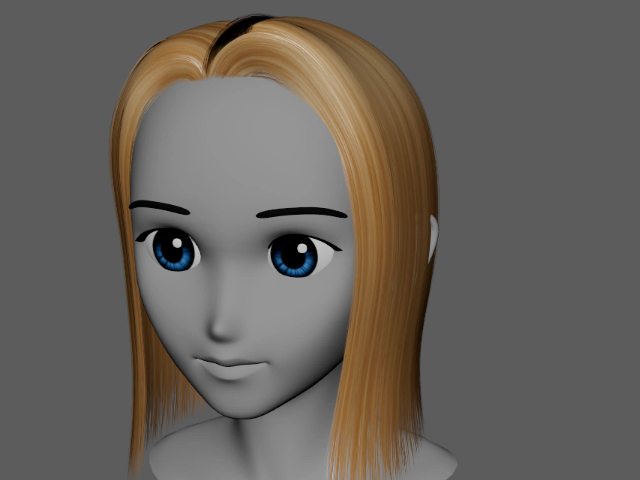
30.
Apply the hair color.
髪の色を貼り付けます。
31.
32.

33.
34.
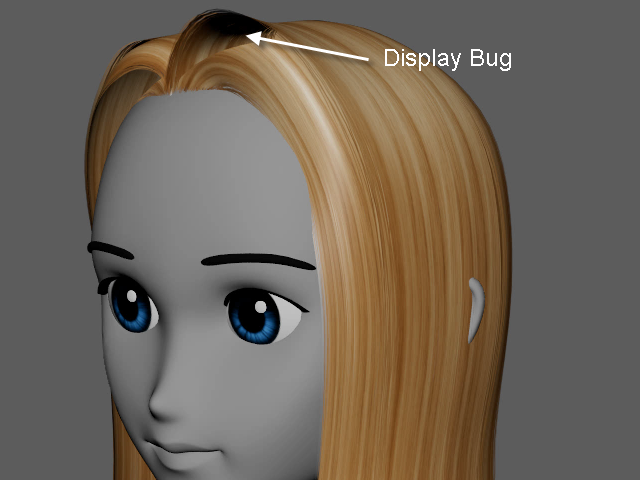
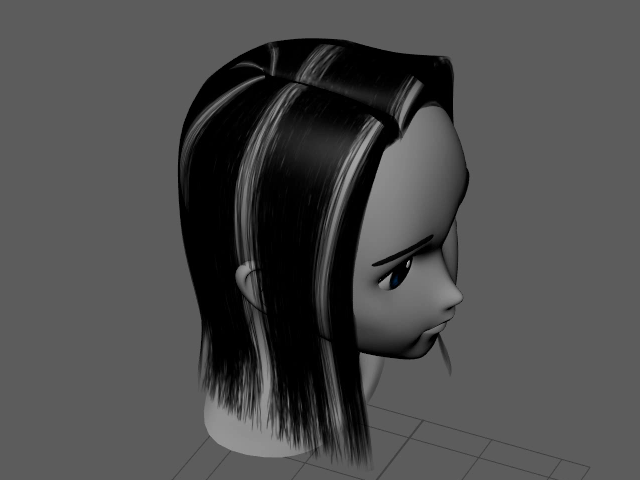
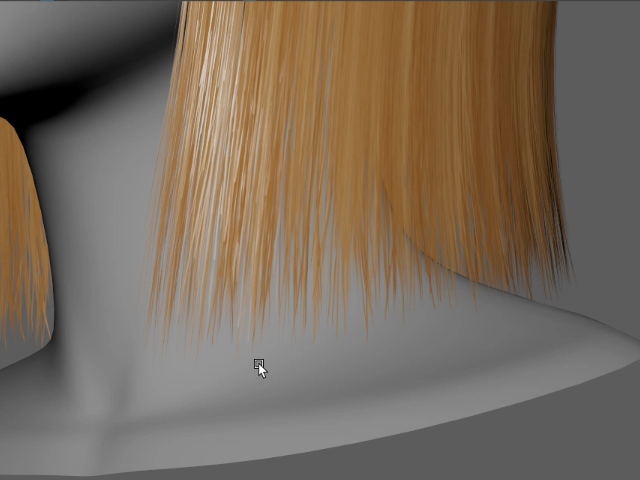
Sometimes you will see display bugs on view port.
Don't worry. When you render with Arnold, it will be displayed correctly.
このように正しくく表示されない場合がありますが、
レンダリングすると正しく表示されます。
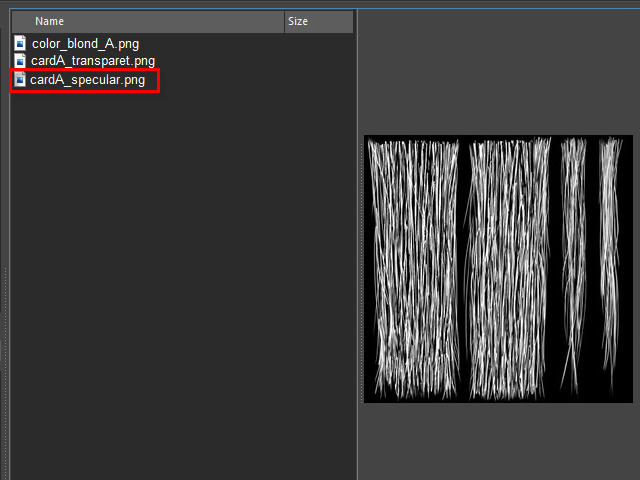
35.
Go to the textures link. Download textures
Download cardA_specular.png.
Now, I am going to apply a specular map.
テクスチャのリンクへ行きます。Download textures
cardA_specular.png をダウンロード。
Specular マップを貼り付けます。
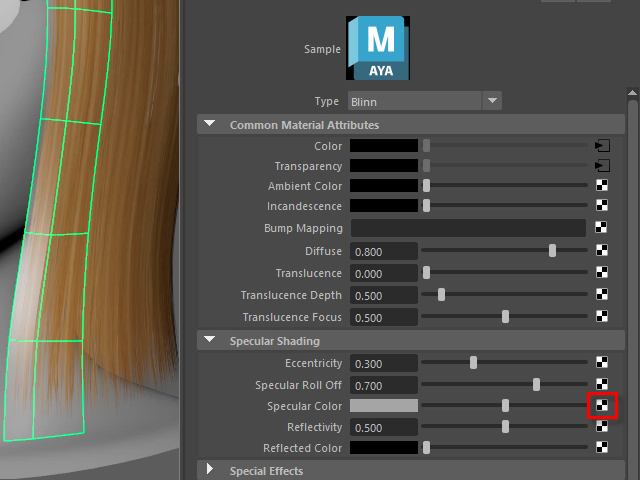
36.
Apply cardA_specular.png.
cardA_specular.png を貼り付けます。
37.
38.
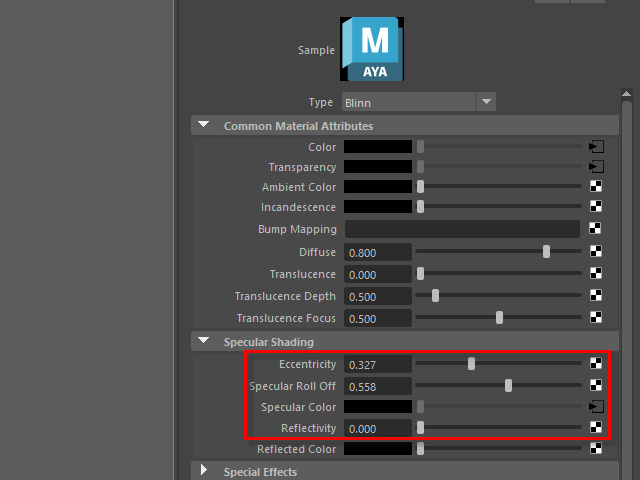
Adjust while you are rendering.
レンダリングを実行しながらSpecular Shading を調整します。
39.
Next, I will change the hair shape.
次に髪の形を変えてみます。